Published - 25th Apr 2017

In earlier blogs, we’ve looked broadly at the use of non-destructive testing (NDT) in metal casting and discussed the two main techniques used in our work – radiography and dye penetrant inspection.
In this blog, we take a closer look at dye penetrant inspection and explore its applications and many benefits.
As we’ve discussed previously, NDT is designed to test and evaluate parts and systems for any faults or discontinuities. One of the real advantages is that NDT does not cause any damage to the part – so it is a cost-effective evaluation method.
Dye penetrant inspection is specifically used to locate surface defects, such as cracks, surface porosity and leaks, in metals, plastics and ceramics. It is based on the ability of a liquid to be drawn into a flaw by capillary action[1].
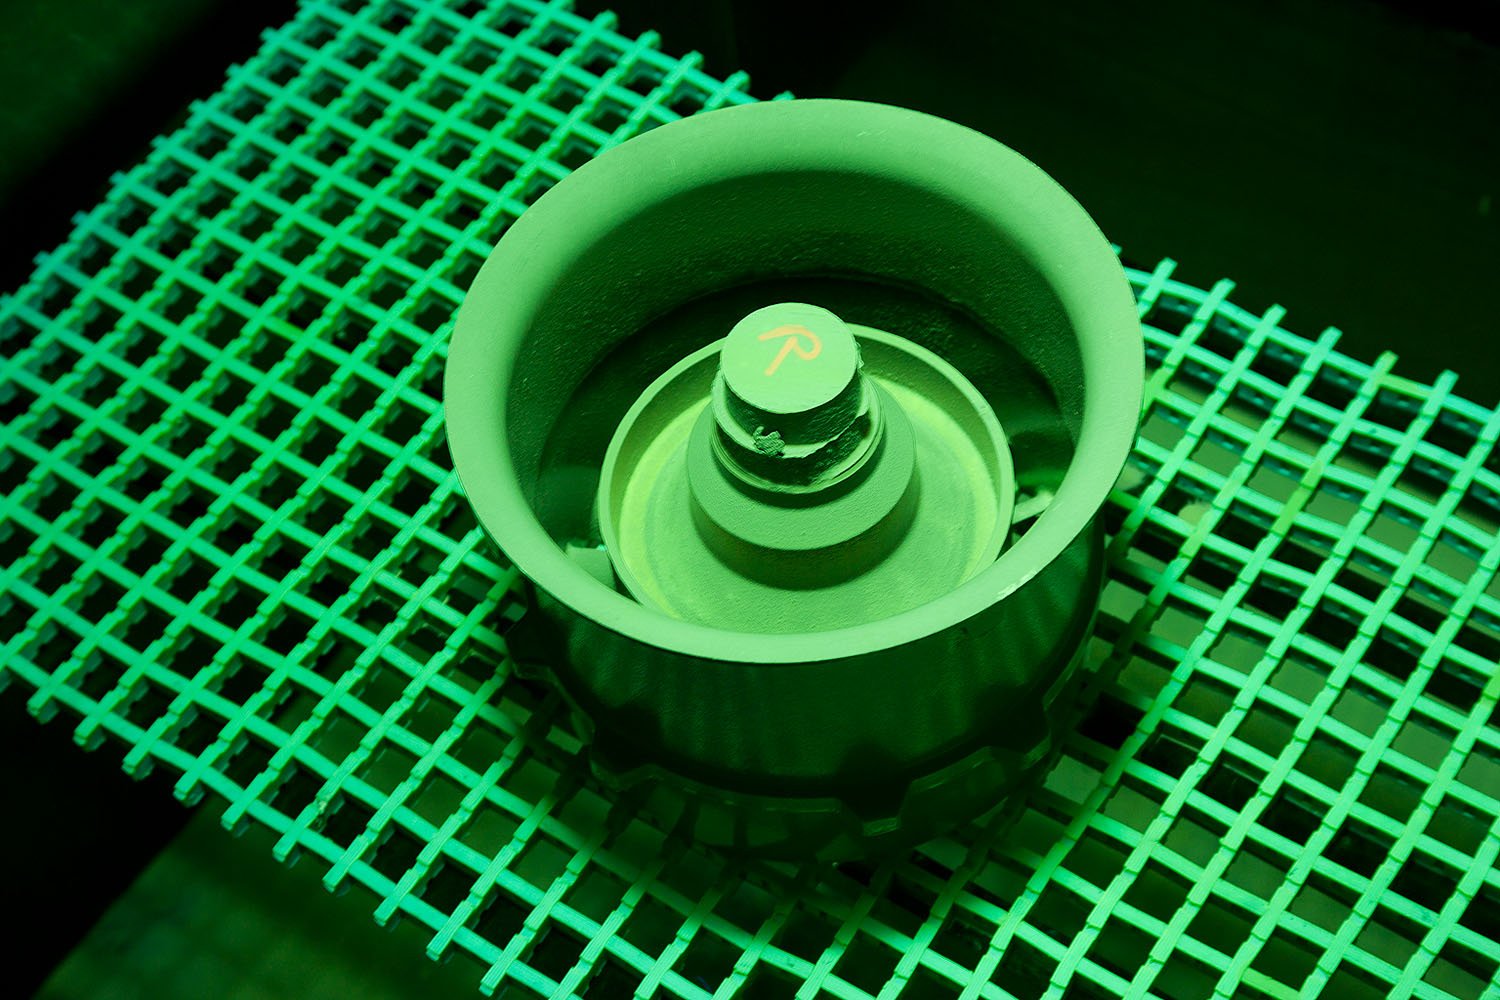
During the test process, the component is dipped in a penetrant liquid. This is left to soak in for up to 30 minutes. Any excess penetrant is then removed before a white developer is applied. This developer helps to draw penetrant from defects onto the surface and reveal any flaws – a process known as ‘bleed out’.
After a short time, the component is inspected under ultraviolet light. Any imperfections will fluoresce brightly in this light.
Liquid penetrant testing is one of the oldest methods of NDT. It was first used in the early 20th century in the railroad industry to detect cracks in heavy steel parts. The component was dipped in oil before being coated in chalk. The chalk absorbed oil from any cracks – thus revealing the defects. This was called the oil and whiting method.
In later years, a dye was added to the process to aid detection and, by the 1940s, a fluorescent dye was being used[2].
Over the years, the technique has been further refined. Temperature and soak time have emerged as critical factors and this understanding has led to the development of written guidelines for industry.
Dye penetrant testing is a highly cost-effective method that can be carried out relatively fast – either in a testing lab or on site. The only drawback is that this method can only detect surface flaws rather than revealing internal porosity or shrinkage. If the latter testing is required, we use radiographic imaging. We will be taking a closer look at this technique in our next blog.
Find out more about testing and evaluation in metal casting by emailing us: sales@haworthcastings.co.uk. Alternatively, call +44 (0)1794 512685.
[1] Jadayil, W. (2011). Studying the effects of varying the pouring rate on the casting defects using nondestructive testing techniques. Jordan Journal of Mechanical and Industrial Engineering, 5(6), pp. 521-526
[2] Historical timeline and dates checked on Wikipedia.
If you have a project, talk to our experienced sales team
Contact us